
How to Jump-Start a Car: The Safe Cable Order, Step by Step
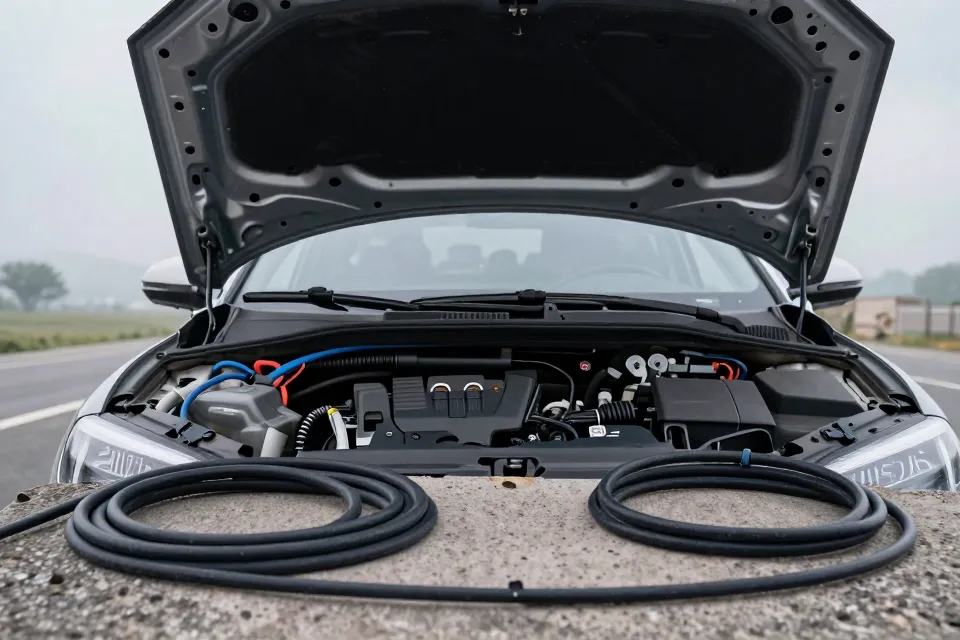
It happens to nearly every driver eventually. You turn the key, the dashboard lights blink, and all you hear is a soft click — or a slow, tired groan from the starter. A dead battery is one of the most common roadside surprises, and it is also one of the easiest to fix yourself. Ten minutes with a set of jumper cables can put you back on the road without a tow truck, a phone call, or a repair bill.
This guide covers the whole job in order: what to gather first, the exact cable sequence to follow, the safety red lines you should never cross, and the small mistakes people make that turn a two-minute fix into a mechanic visit. Take it step by step and you will be ready the next time your car says click instead of vroom.
Gather Your Gear and Park Right
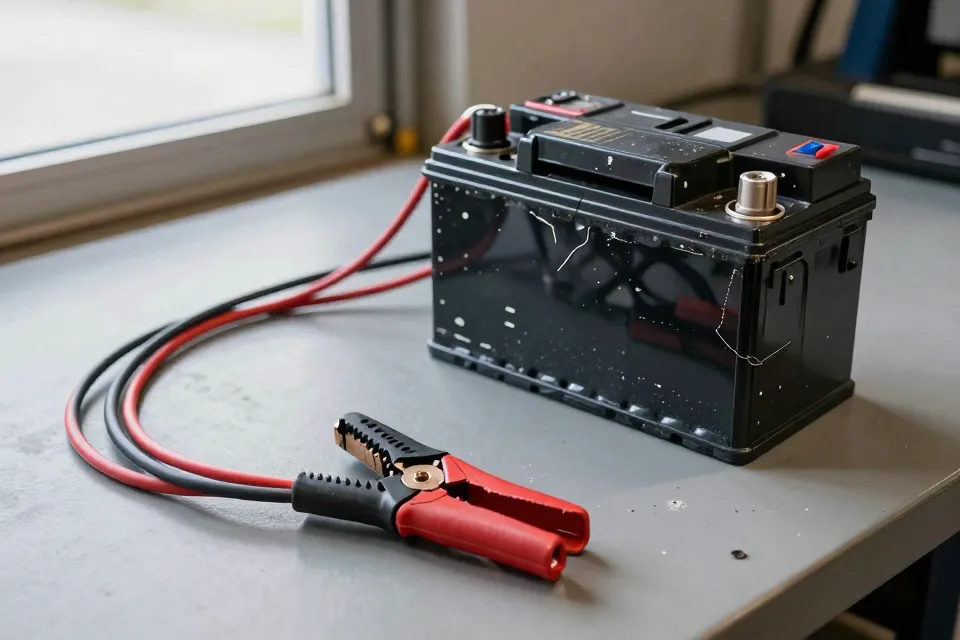
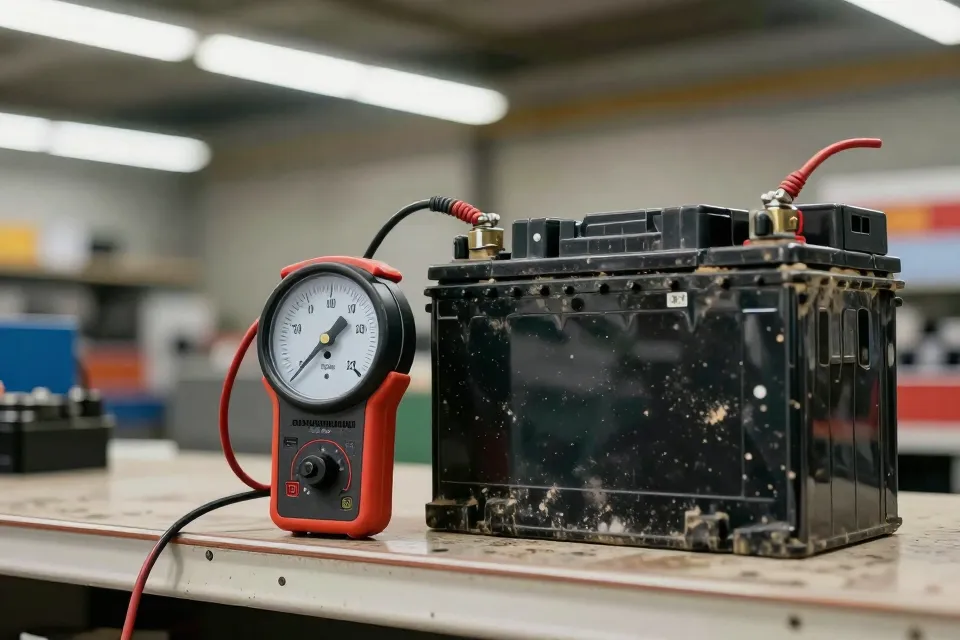
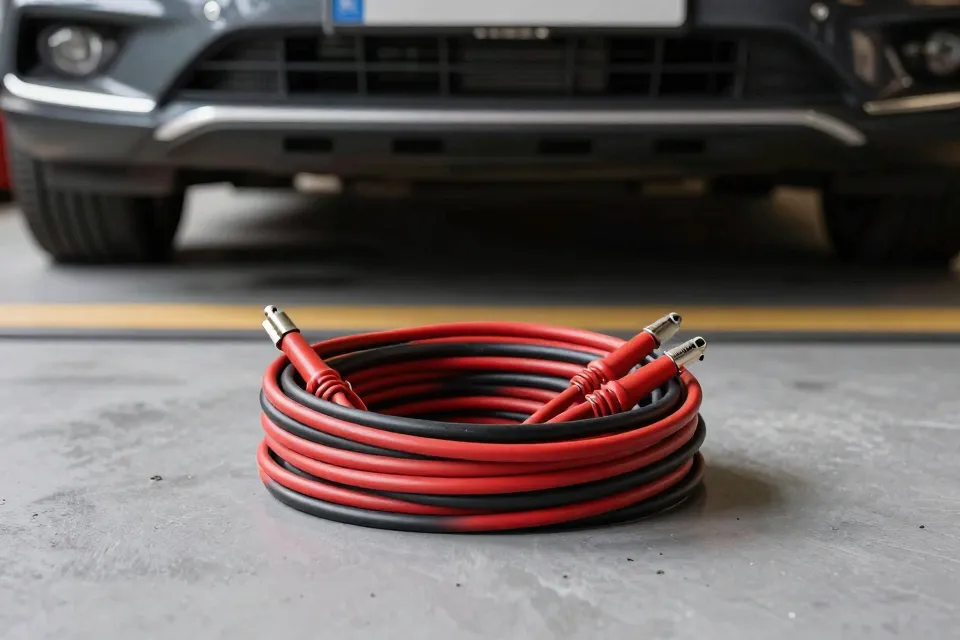
You need two things: a second vehicle with a working battery — or a portable jump pack — and a set of jumper cables you actually trust. Check the cable clamps before you rely on them: cracked insulation and loose jaws are a good reason to buy a new set. Take a hard look at the battery too. If the case looks swollen, cracked, or is leaking fluid, skip the jump entirely and call a professional. A damaged battery is not a jumper-cable job.
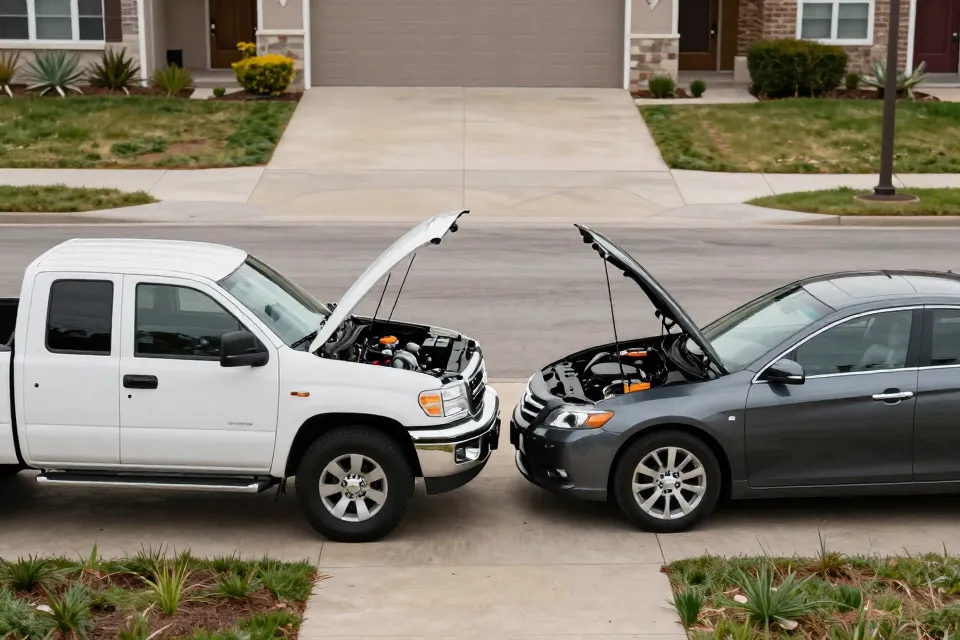
Park the two cars close enough that the cables reach comfortably — nose to nose is the classic setup — but keep the bodies from touching. Put both vehicles in Park, or in gear with the parking brake firmly on, and turn both engines completely off. Switch off the headlights, radio, and other accessories in the car with the weak battery. Open both hoods and find the batteries. Some newer cars tuck the battery under a plastic cover, and many hybrids and EVs use labeled jump-start posts instead of an exposed battery. If you are not sure where yours is, check your owner's manual before you connect a single clamp.
One more check: the donor car needs to be healthy, not merely present. If the second car barely starts itself or idles rough, the jump will likely fail. An engine that starts easily and stays running is what you want on the other end of the cables.
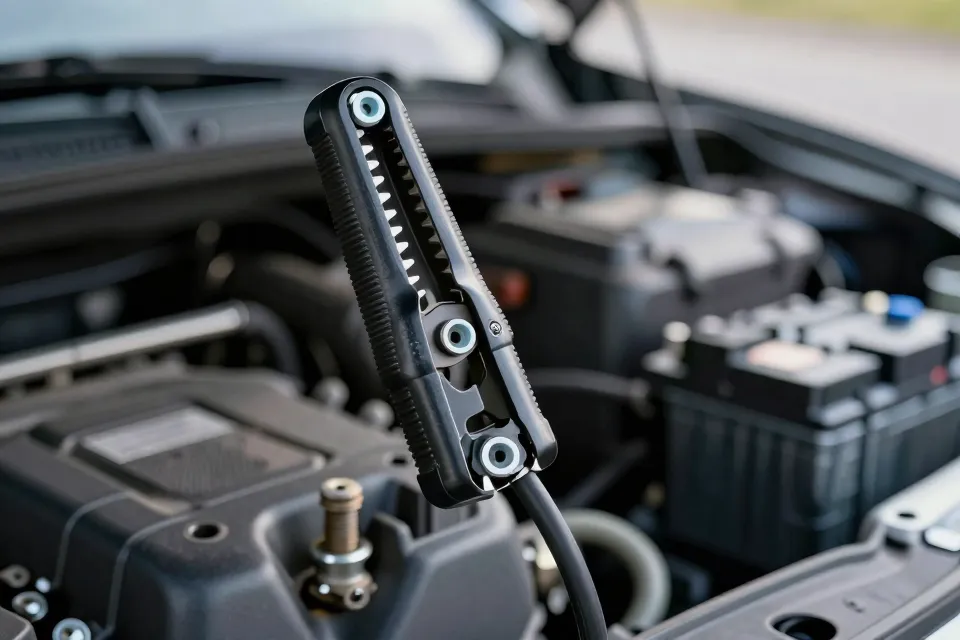
Follow the Four-Step Cable Order
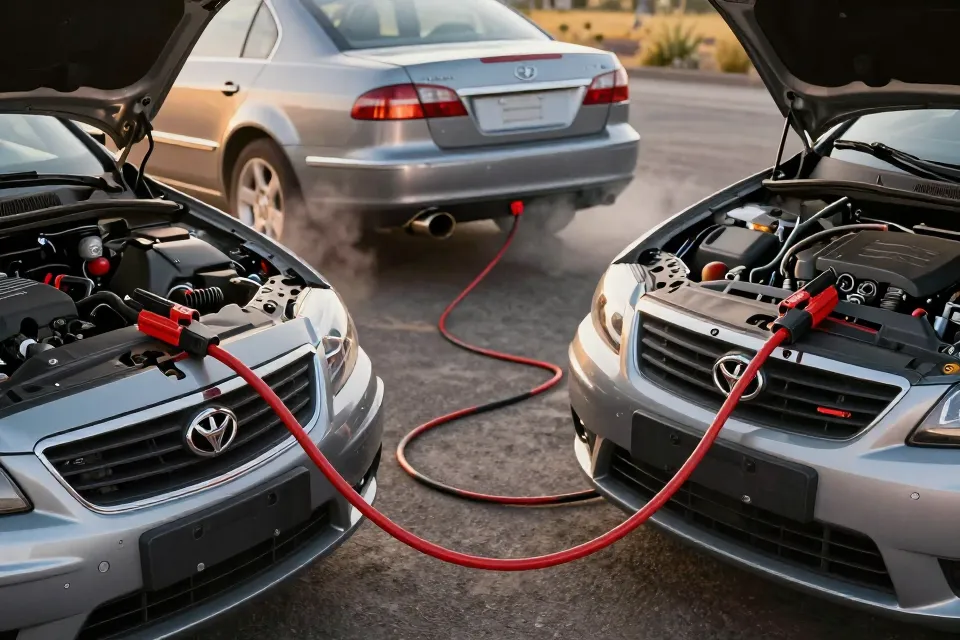
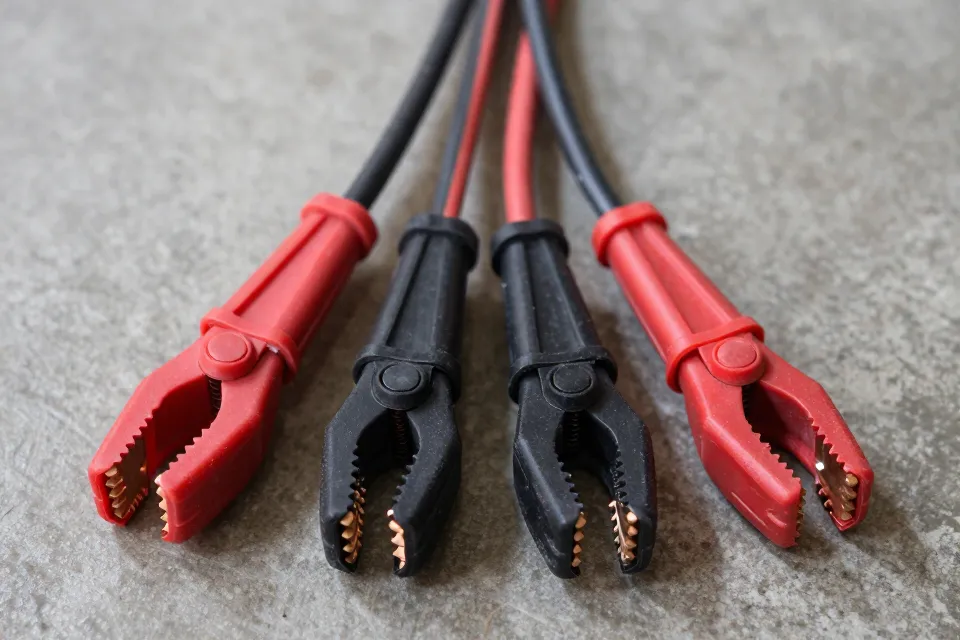
Jumper cables have two clamps in each color: red stands for positive, black stands for negative. The order you attach them is the most important part of the whole job. Work through this exact sequence, and never let the loose clamp ends touch each other while the cables are live.
| Step | Clamp | Attach it to |
|---|---|---|
| 1 | Red (+) | Positive terminal of the dead battery |
| 2 | Red (+) | Positive terminal of the working battery |
| 3 | Black (−) | Negative terminal of the working battery |
| 4 | Black (−) | Bare, unpainted metal on the dead car's engine — a bolt or bracket, away from the battery |
Step 4 is the one most people get wrong, so read it twice. The last clamp you attach is the one most likely to throw a tiny spark, and a lead-acid battery gives off hydrogen gas that a spark can ignite. By clamping the final black cable to bare engine metal instead of the dead battery's negative post, you move that spark far away from the danger zone. Some cars carry a labeled ground post built exactly for this — use it if yours has one, and confirm the spot in your owner's manual.
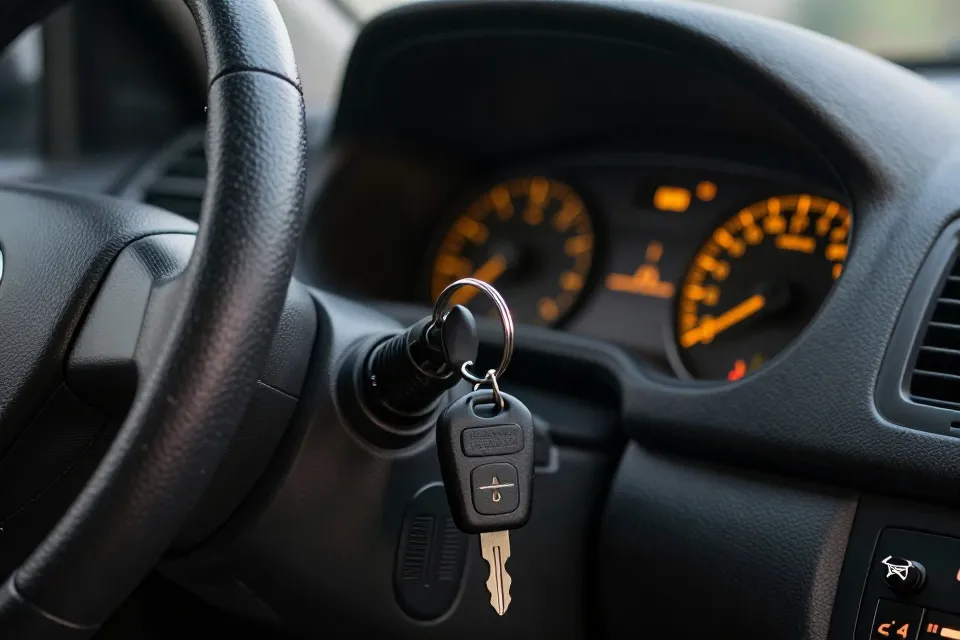
Start the Donor, Then the Dead
Start the car with the good battery first and let it idle for two or three minutes. Its alternator sends a small charge across the cables and gives the weak battery a head start. Now try starting the car that would not start. If it fires up, you are nearly done. If the engine only cranks slowly, wait a minute or two and try once more.
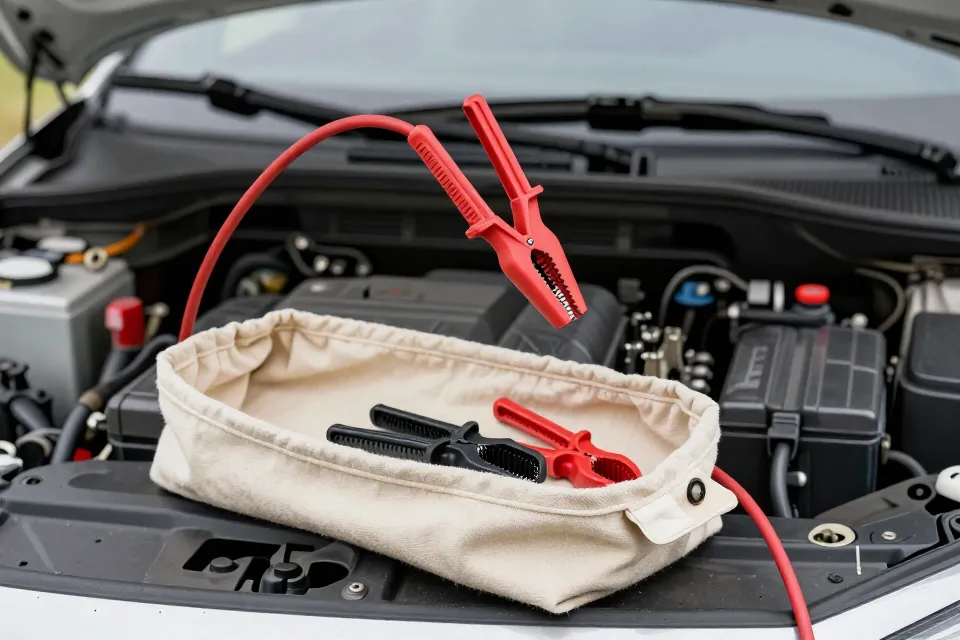
Do not sit there cranking. A starter motor is not built for long spins, and repeated long cranks can overheat it. Two or three short attempts is enough. If the car still will not start, stop right there: the problem may be an alternator, a bad connection, or a battery too far gone for a jump. More cranking will not fix it, and it can make things worse.
Pull the Cables Off in Reverse
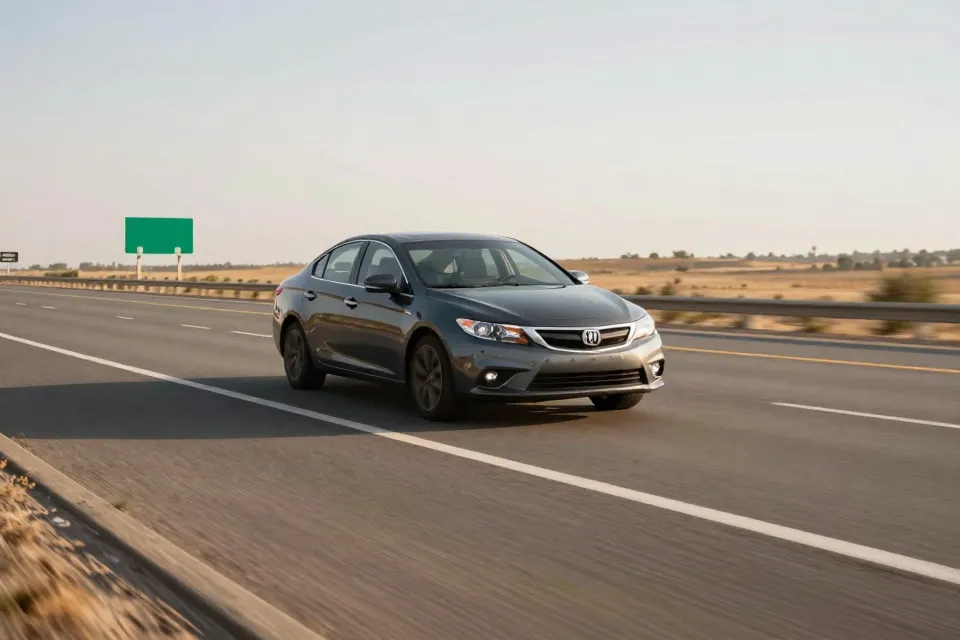
Once the revived car is running, leave both engines on for a few minutes before you touch the cables. Then remove them in exactly the reverse of the connection order:
- Black (4) off the engine-ground metal on the revived car
- Black (3) off the working battery's negative terminal
- Red (2) off the working battery's positive terminal
- Red (1) off the revived car's positive terminal
The one rule to carry with you: the last cable you connected is the first one you remove. Keep the clamp jaws away from each other and away from any metal while you disconnect, and close the hoods only after every clamp is free.
Safety Red Lines: Never Cross These
If you remember nothing else from this guide, remember these:
- Clamp jaws never touch. If the two loose ends meet while the other ends are live, you get a short circuit, sparks, and possibly damaged electronics. If they touch while live, pull the black clamp off the engine ground first and start the sequence over.
- Red connects to positive, and only positive. Reversing the polarity can fry the electrical systems of both cars. Check the small + and − marks on the battery before every clamp.
- Keep flames and cigarettes away from the battery. Hydrogen gas can build up around a charging battery, and it needs very little to ignite.
- Never jump a battery that looks damaged. Cracks, swelling, leaking fluid, or a frost-coated case all mean professional attention, not a jump. A damaged battery can rupture when hit with a strong charge.
- Respect the moving parts. Keep the cable runs clear of belts, pulleys, and cooling fans once an engine is running.
- Know your car's jump points before you need them. Newer cars, hybrids, and EVs often expect power at specific posts rather than battery terminals. Find that page in the owner's manual now, before the click ever happens.
Common Mistakes That Turn a Jump into a Repair
| Mistake | What goes wrong | Do this instead |
|---|---|---|
| Putting the final black clamp on the dead battery's negative post | A spark lands next to explosive battery gas | Clamp it to bare engine metal, away from the battery |
| Mixing up the red and black clamps | Reversed polarity can damage computers and sensors | Check the + and − marks before every clamp |
| Cranking for long, painful stretches | The starter overheats and can fail | Two or three short attempts, then stop and reassess |
| Shutting the car off seconds after it starts | The battery is still nearly empty and may not restart | Drive for 15-20 minutes so the alternator can recharge it |
| Jumping a cracked, swollen, or frozen battery | The battery can rupture or explode | Skip the jump and take it to a shop |
| Guessing on a newer car or hybrid | You connect to the wrong posts, or miss a labeled jump terminal | Look up your model's jump-start page in the manual |
After the Jump: Give the Battery a Real Recharge
Starting the engine is only half the job. The battery that just brought the car to life is still mostly drained, and the alternator needs driving time to put real charge back in. A practical rule of thumb is to drive for at least 15-20 minutes after a jump — an errand, a highway stretch, anything that keeps the engine running. Shut the car off ten seconds later and you may well hear that click again at the next start.
If the battery dies again the same day or overnight, the battery is likely finished, or the alternator is not charging properly. Car batteries commonly last about three to five years, and cold weather is especially hard on aging ones. Most parts stores will test a battery for free — a better use of your time than a second jump that fixes nothing.
Faster Next Time: Keep a Jump Pack Handy
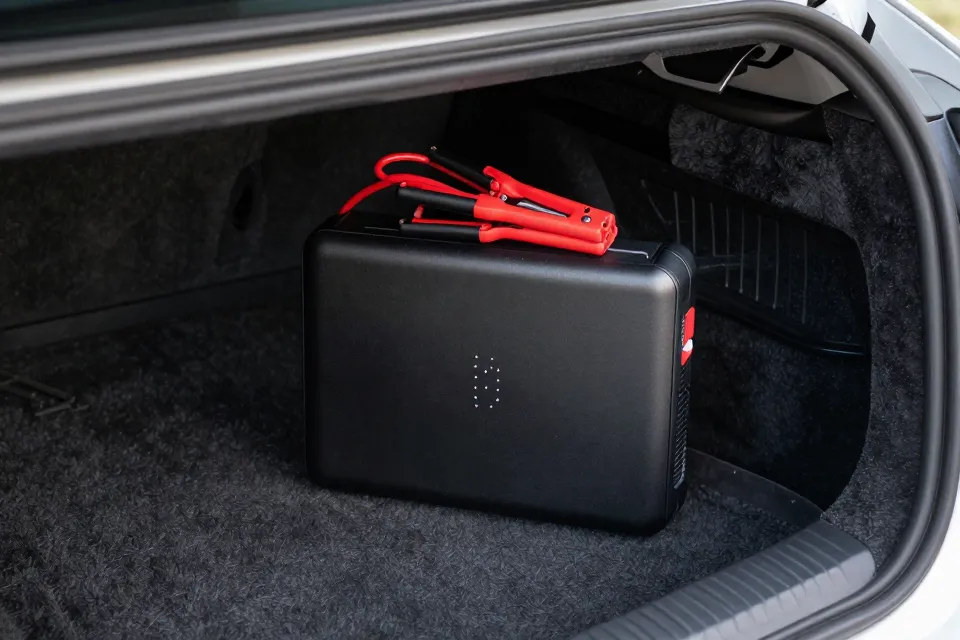
A portable jump pack is the modern answer when no second car is around. It fits in a trunk corner, needs no volunteer driver, and skips the donor car entirely. You still follow the same discipline: positive clamp to the positive post, negative clamp to engine ground, then start. Read the unit's instructions first — some packs have safeguards against reversed clamps, some do not — and recharge the pack itself every few months so it is ready when you need it. A set of cables, meanwhile, costs nothing to keep and works with any willing neighbor.
The Five-Second Recap
The whole job in one line: red to dead, red to donor, black to donor, black to engine metal — then undo it in reverse once the car runs. Drive 15-20 minutes before you switch off, and have that aging battery tested before winter, not after it leaves you stranded. Ten minutes and a little order beat an hour on the shoulder every time.
Want to test more car care skills? Browse the quiz library for quick practice.
Content on KnowHow Bench is for general information only. See our Disclaimer for details.