Kitchen Knife Skills: How to Dice, Slice and Chop Like a Pro (Safely)
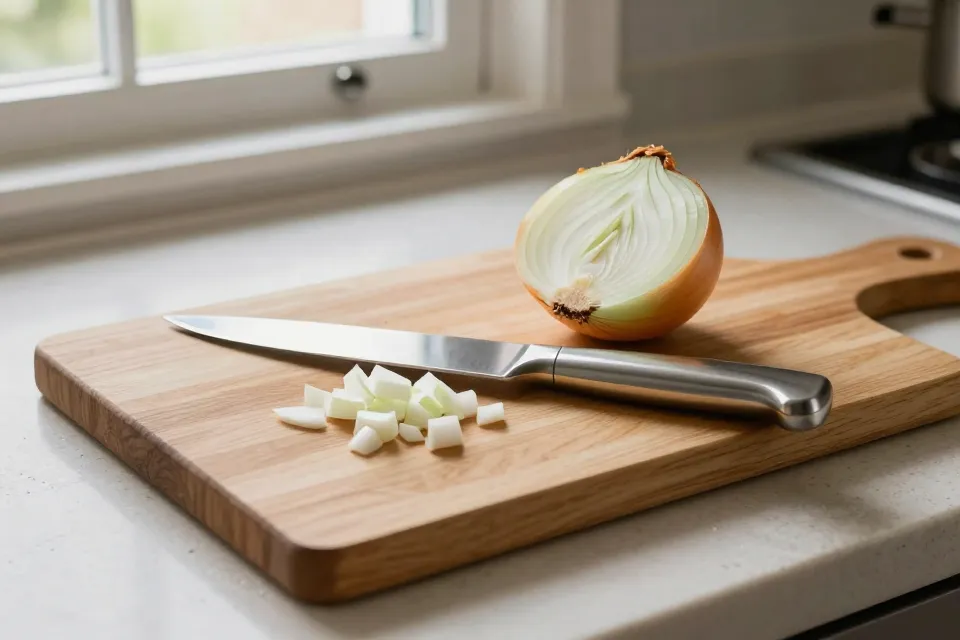
Do you chop onions with tears streaming down your face while your knife skids across the board? Does the phrase "dice an onion" sound like a cooking-show trick you will never pull off? Here is the good news: real knife skills are not about speed. They are about a steady hand, a sharp blade, and two simple hand positions. Learn those, and you can slice, dice, and chop most anything with confidence — and keep all ten fingers out of harm's way.
Why Bother? Faster Isn't the Point
Let's be honest: nobody at your table cares if your onion is chopped in 30 seconds or 3 minutes. What they care about is taste. Food cut into similar-sized pieces cooks evenly. Big chunks stay raw while small ones burn, and the whole dish suffers. Even more important: a knife you control is a knife that does not hurt you. Sharp knives are actually safer than dull ones — a dull edge slips, and a slipping blade is how fingers get cut. So this guide is not about winning a race. It is about calm, steady, repeatable moves.
Step One: Hold the Knife Like a Tool, Not a Hammer
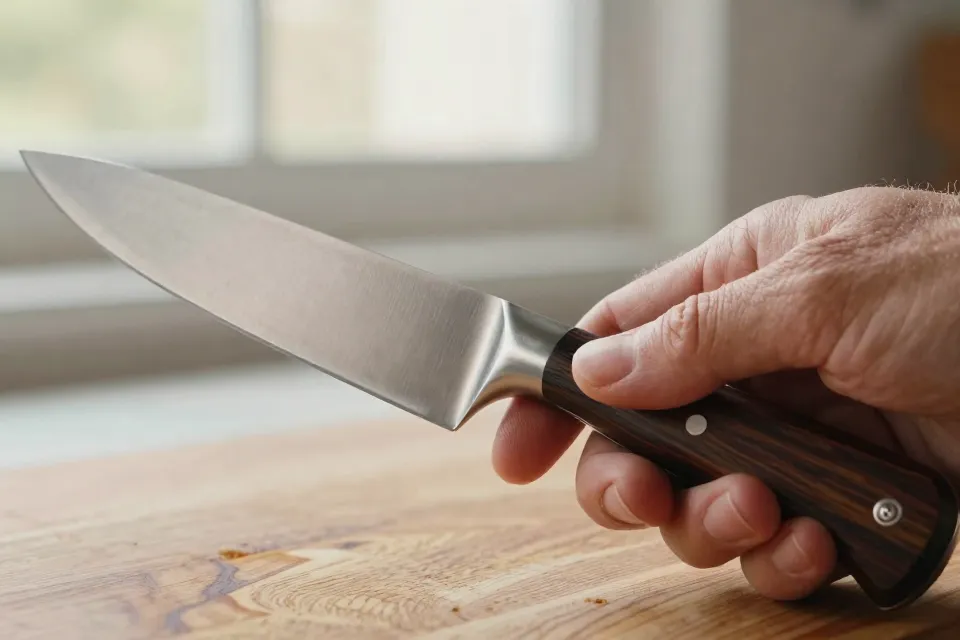
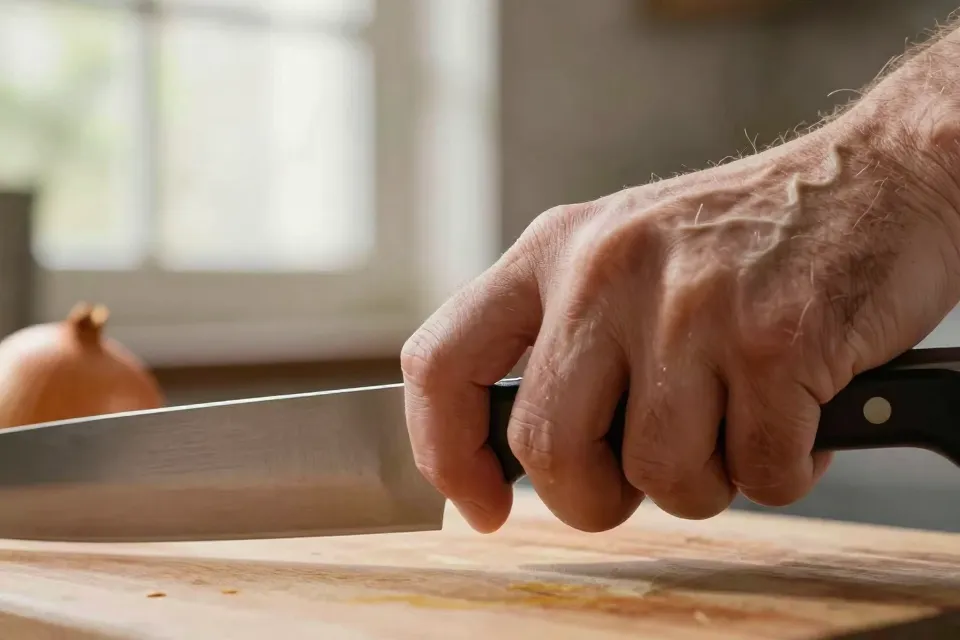
Forget the grip you may have used for years, with all four fingers wrapped around the handle. That grip feels wobbly, and it makes your arm tired fast. Try the pinch grip instead.
- Put your thumb on one side of the blade and your index finger on the other, right where the blade meets the handle (the heel).
- Let your other three fingers curl around the handle, light and easy.
- The pinch is your steering wheel: it lets the knife move exactly where you point it.
Your grip should be firm but relaxed — think of holding a bird, not squeezing a lemon. A white-knuckle death grip wears out your forearm and makes your cuts jerky. And never press down on the spine, the top of the blade, with your palm. It looks powerful in movies; in your kitchen it only steals your control and puts your hand close to the cutting path.
Step Two: Meet the Claw — Your Safety Grip
The other hand does the most important job in the kitchen: it holds the food steady, and it keeps your fingertips safe. Make a claw, like a bear paw.
- Curl your fingertips under.
- Tuck your thumb behind your fingers.
- Let your knuckles poke out toward the blade.
Now the side of the blade slides against your knuckles while you cut. Your fingertips never get near the edge, because your knuckles are the guard rail. Hold the food with the claw and shift it after each cut: lift, move, set back down, with your fingers curled the whole time. Two common habits undo all of this — flattening your fingers on the food, or pointing your fingertips forward. Both put your hand in the blade's path. Curled fingertips are the whole game.
Step Three: Start With One Good Chef's Knife
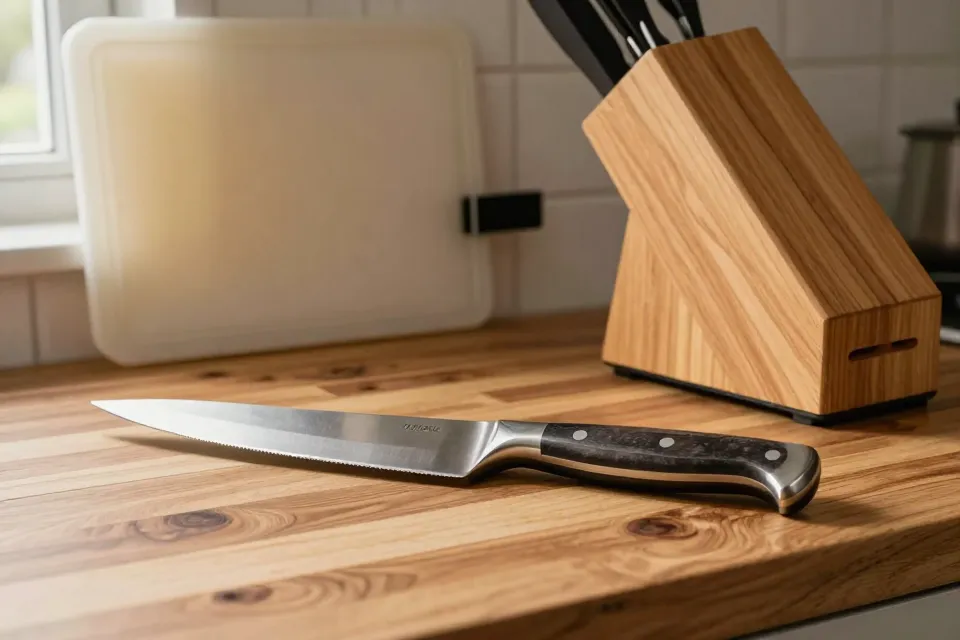
You do not need a wall of knives. A single 8-inch chef's knife handles most of the work in a home kitchen: slicing vegetables, cutting meat, chopping herbs. Pick one that feels balanced in your hand and has a comfortable handle. It does not need to be expensive. It needs to feel like an extension of your arm.
Then treat that knife like a tool, not a dishwasher toy. A few care rules:
- Hand-wash with warm, soapy water, then dry it right away.
- Never put it in the dishwasher. Blades clang against other items, and harsh dishwasher detergent can dull the edge and cause rust.
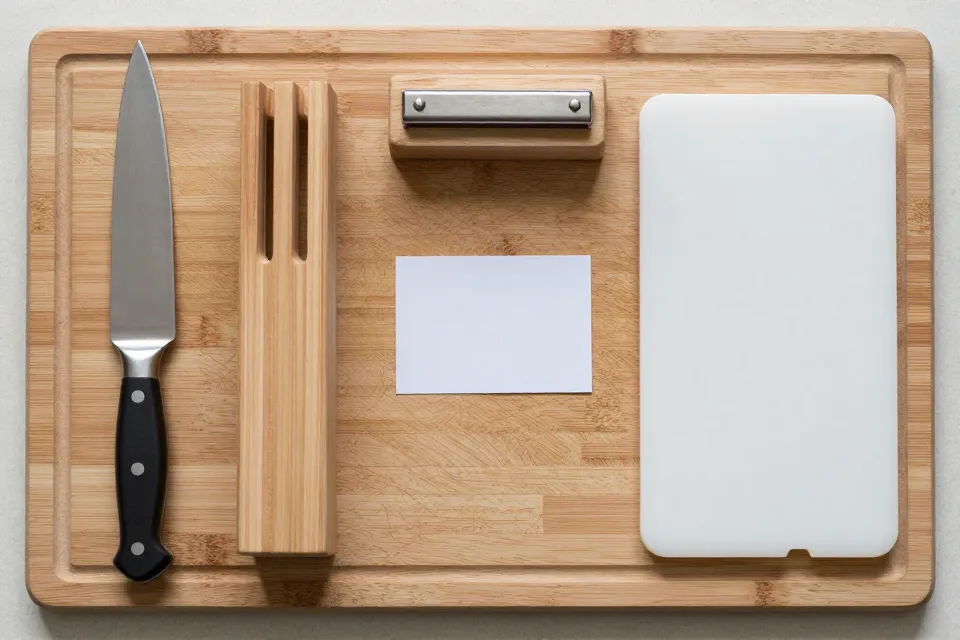
- Store it in a knife block, on a magnetic strip, or in a blade guard. A knife rattling loose in a drawer is a bump waiting to happen.
- Cut on wood or plastic boards. Glass, stone, and marble look pretty, but they wreck an edge fast.
Step Four: Hone It Often, Sharpen It Rarely
Here is a mix-up that trips up many home cooks: honing and sharpening are not the same job.
- Honing means running the blade along a steel rod to straighten the edge. Cutting bends the edge slightly out of line; the steel nudges it back. It removes no metal and takes about 30 seconds. Many cooks hone before heavier cooking sessions, even every time they cook.
- Sharpening means grinding the blade on a stone (or with a sharpener) to cut a fresh edge. This removes a tiny bit of metal. Do it when honing stops helping and the knife still feels dull. Most home cooks find that is a couple of times a year, not every week.
How to hone in three moves:
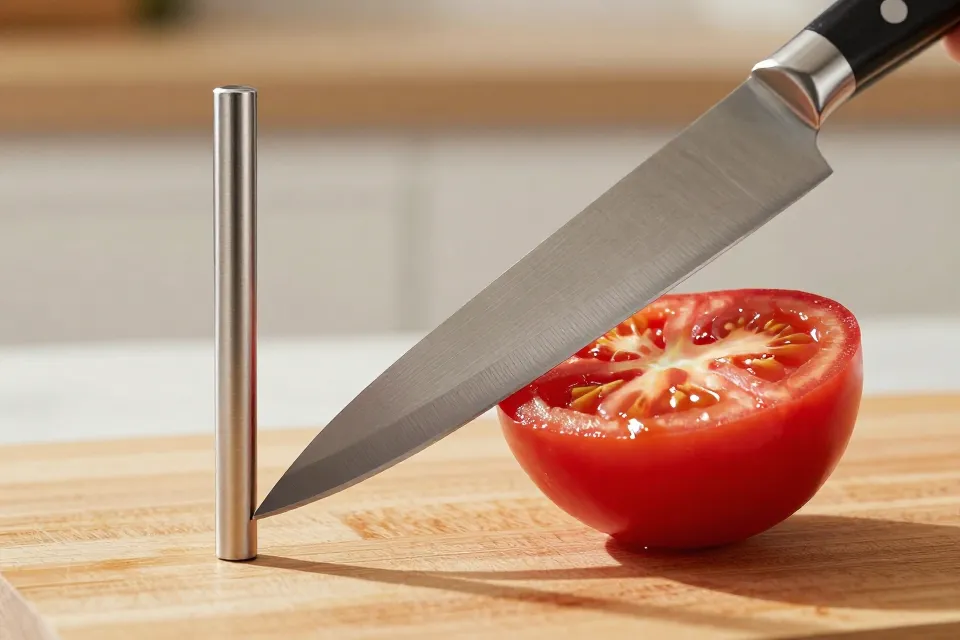
- Hold the steel upright, tip resting on the board.
- Tilt the blade to about 15 to 20 degrees against the steel.
- Draw the blade down the steel from heel to tip, a few passes on each side.
Then wash and dry the blade, because honing sheds tiny metal bits. A quick dullness test: try slicing a ripe tomato. A sharp blade glides through; a dull one squashes it.
Step Five: Dice an Onion, Step by Step
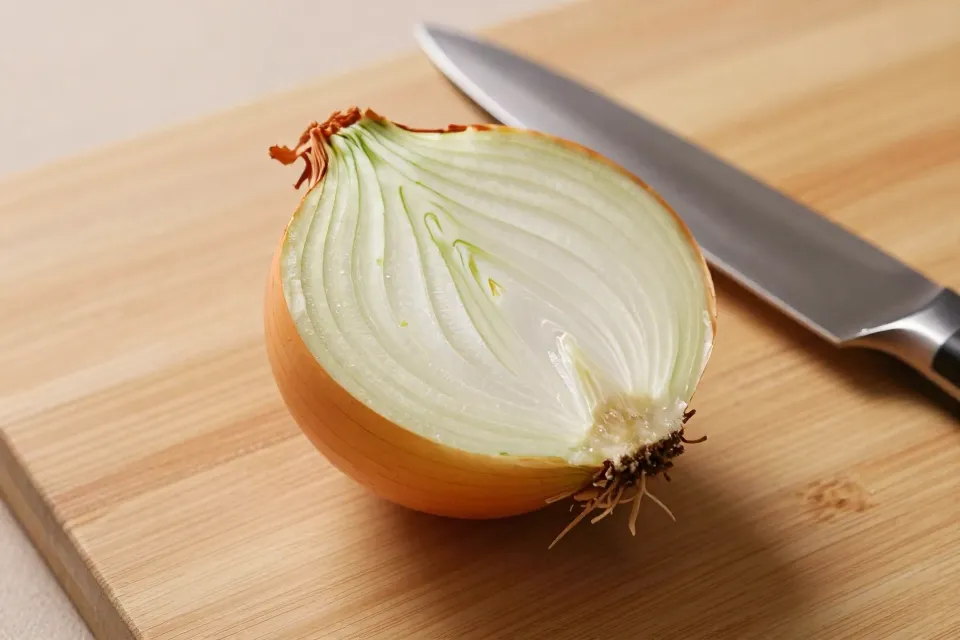
The onion is the best practice food there is. The heart of the classic home method is one trick: keep the root attached as long as you can, because the root holds the layers together while you cut.
- Cut off the top (the stem end). Leave the root end alone for now.
- Slice the onion in half, from top to root (pole to pole). Peel both halves.
- Place one half flat-side down on the board.
- Make horizontal cuts, parallel to the board, almost to the root — but do not cut through it. For a rough chop, you can skip this step.
- Make vertical cuts from the front toward the root, again stopping just short of the root. Keep your claw hand steady and shift it back as you go.
- Slice across the onion to finish the dice.
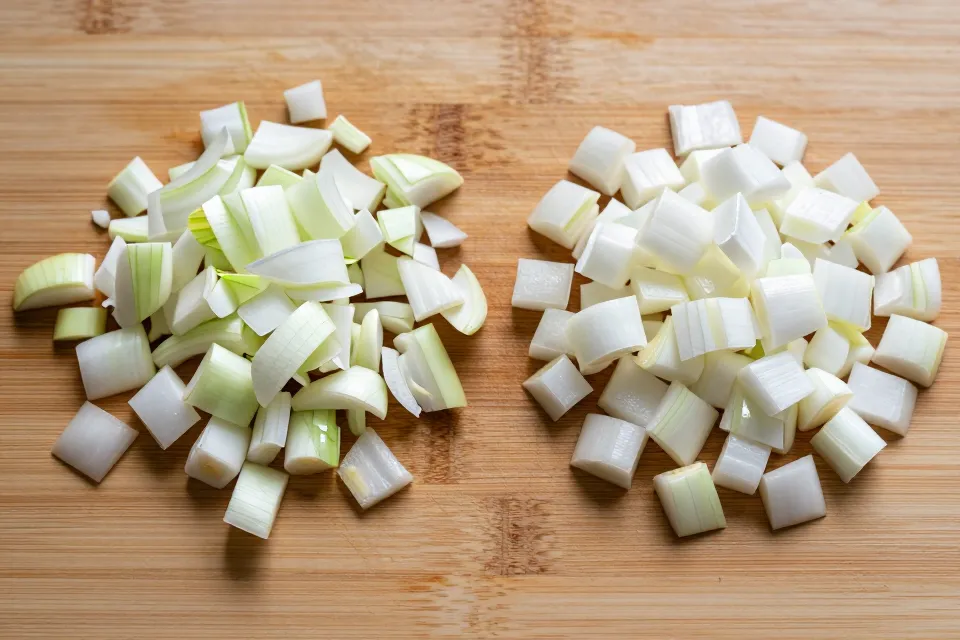
Two directions of cuts first, then cut across — that is the whole routine. Even pieces mean even cooking, which is why this short drill is worth one careful practice run.
Tear tips that actually help: chill the onion for about 15 minutes first, or cut it near a running tap or a fan for airflow. The fumes reach your eyes; airflow carries them away.
Slice, Dice, or Mince: Know What the Recipe Means
Recipes toss these words around as if everyone grew up in a professional kitchen. Here is a plain translation:
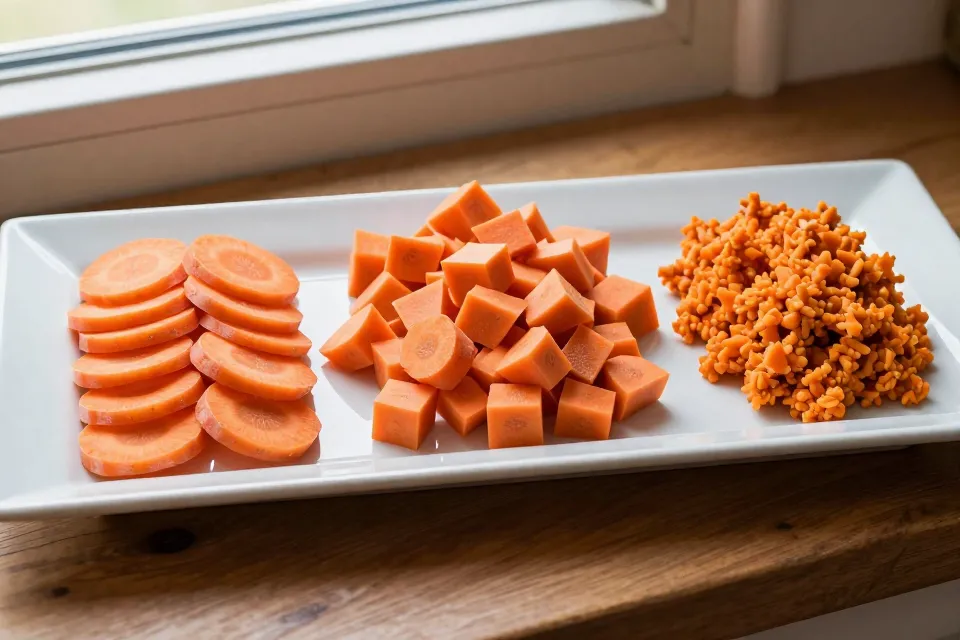
- Slice: flat, even pieces. About a quarter-inch thick is a safe, all-purpose thickness; make them thicker or thinner to match the recipe.
- Dice: small cubes, usually about a quarter to a half inch. Same-size cubes cook at the same speed.
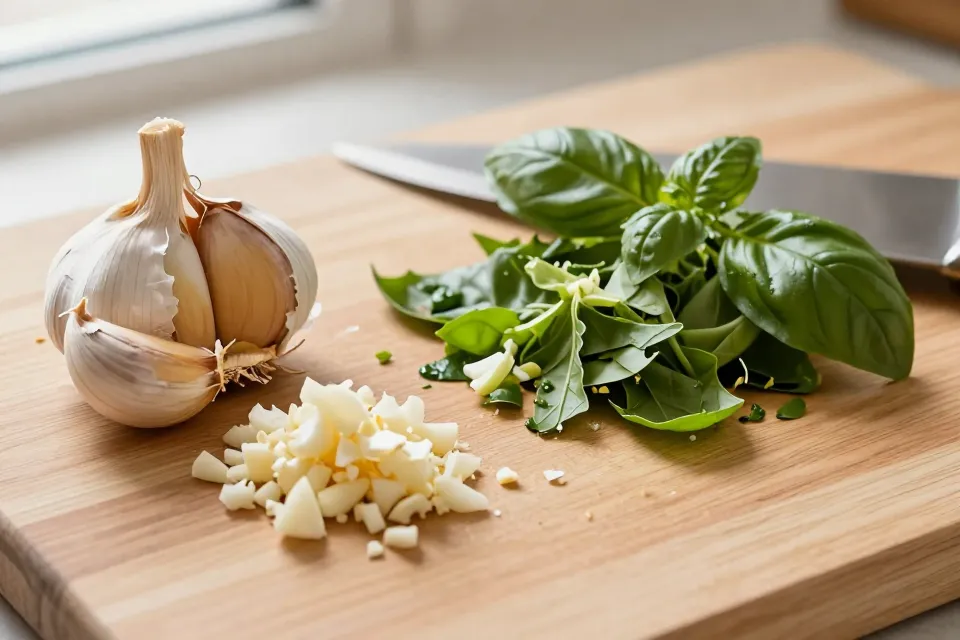
- Mince: very fine pieces, almost a paste, for garlic and herbs so their flavor spreads through the dish.
The rule that matters is evenness, not exact millimeters. A rough chop with matching pieces beats a "perfect" dice with mixed sizes any day.
Garlic and Herbs: Two-Minute Wins
Garlic: lay the clove flat on the board, press the flat side of the blade down on it, and give it a firm thump with your palm. The skin loosens and the clove splits, so peeling becomes easy. Then rock-chop: keep the tip of the blade on the board, pump the handle up and down, and move the blade across the clove until it reaches the fineness you want. Use the claw on the last bit so your fingertips never meet the blade.
Herbs: gather the leaves into a loose pile, use the same rocking motion with the tip on the board, and sweep the pile back into a mound every few rocks. Dull blades mash herbs instead of cutting them — one more reason to keep the edge happy.
Five Knife Mistakes Nearly Everyone Makes (and the Fix)
| Mistake | What it does | The fix |
|---|---|---|
| Palm pressed on top of the blade | Less control, hand near the edge | Use the pinch grip and hold food with the claw |
| Knife in the dishwasher | Dings, dulls, and rusts the steel | Hand-wash and dry right away |
| Cutting on glass or stone | Edge goes dull fast | Use wood or plastic boards |
| Fingers laid flat on the food | Fingertips in the cutting line | Curl them under into a claw |
| Knife loose in a drawer | Nicks the edge, risky to grab blind | Use a block, magnetic strip, or blade guard |
The 60-Second Knife Check
Before your next recipe, run this mini-list:
- Pinch grip on the blade, three fingers on the handle
- Claw hand, fingertips curled, knife riding your knuckles
- Edge honed, wood or plastic board, blade not left in the sink
- Cuts even, hands calm, no hurry
That is the whole course. Practice the onion once or twice, and these moves start feeling like second nature within a week. Want more everyday kitchen skills? Browse the full quiz and article list at the quiz index.
Content on KnowHow Bench is for general information only. See our Disclaimer for details.